
Description
Detailed Technical Specifications & Size Guide
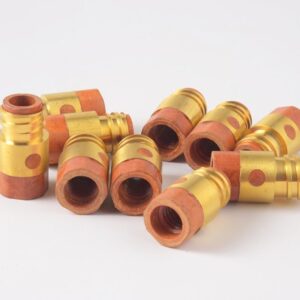
Selecting the correct connector size is critical because the pin diameter changes between smaller and larger models. Using an incorrect size can lead to loose connections, overheating, and equipment damage.
| Model Number | Compatible Cable Size (mm2) | Male Pin Diameter (Approx.) | Maximum Current (Amps) | Common Applications |
| DKJ 10-25 | $10\text{–}25 \text{ mm}^2$ | $9.0 \text{ mm}$ ($3/8″$) | Up to $200\text{A}$ | Portable inverter welders, light-duty DIY machines, and hobbyist TIG setups. |
| DKJ 35-50 | $35\text{–}50 \text{ mm}^2$ | $12.7 \text{ mm}$ ($1/2″$) | Up to $315\text{A}$ | Most common size for professional workshops and medium-duty industrial machines. |
| DKJ 50-70 | $50\text{–}70 \text{ mm}^2$ | $12.7 \text{ mm}$ ($1/2″$) | Up to $400\text{A}$ | Heavy-duty industrial welding and high-amperage structural steel work. |
| DKJ 70-95 | $70\text{–}95 \text{ mm}^2$ | $12.7 \text{ mm}$ ($1/2″$) | Up to $500\text{A}$ | Extra heavy-duty power sources, shipyards, and long-distance cable runs. |
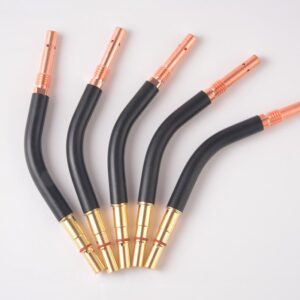
Assembly Instructions
-
Strip the Cable: Remove the outer insulation of your welding cable to expose the copper strands.
-
Insert Housing: Slide the rubber insulating sleeve onto the cable before attaching the brass parts.
-
Secure Brass Core: Insert the bare copper into the brass connector and tighten the integrated grub screw (or ball-point screw) firmly to ensure a solid mechanical and electrical bond.
-
Final Seal: Pull the rubber housing back over the brass core until it locks into place, fully insulating the connection.


Reviews
There are no reviews yet.